This article is somewhat bittersweet for me because I’m not sure when I’ll be allowed to do handstands again; it could be in a couple weeks (unlikely), or a couple months (more likely). Originally, it was going to be a video—and it still will be eventually—but I realized that I don’t have enough footage to put it all together, and so it will begin its life like this: a pictorial guide with (semi-) accompanying audio.
The astute among you might point out that handstands are not related to nutrition. I can’t deny that. Little training guides (and videos) on bodyweight exercises are something I’ve wanted to put out there for awhile as a sort of corollary to the nutrition advice offered here, and while they are not specifically on topic, I hope you enjoy them and get some use out of them. Worry not, nutrition fans—they won’t take over the site.
As soon as I get the footage necessary to complete the video, I’ll update this article to include the video instead of just audio. In the meantime, please listen and follow along with the pictures.
#1: Practice on a Hard Surface
Practicing handstands on a soft floor is a classic beginner trap. It gives the illusion of safety, but ultimately makes learning to balance upside down extremely hard and stalls progress.
First, when you’re on a soft surface, the butt of your palm (the “heel”) sinks into the floor, decreasing your wrist angle, increasing strain, and unbalancing you backwards.
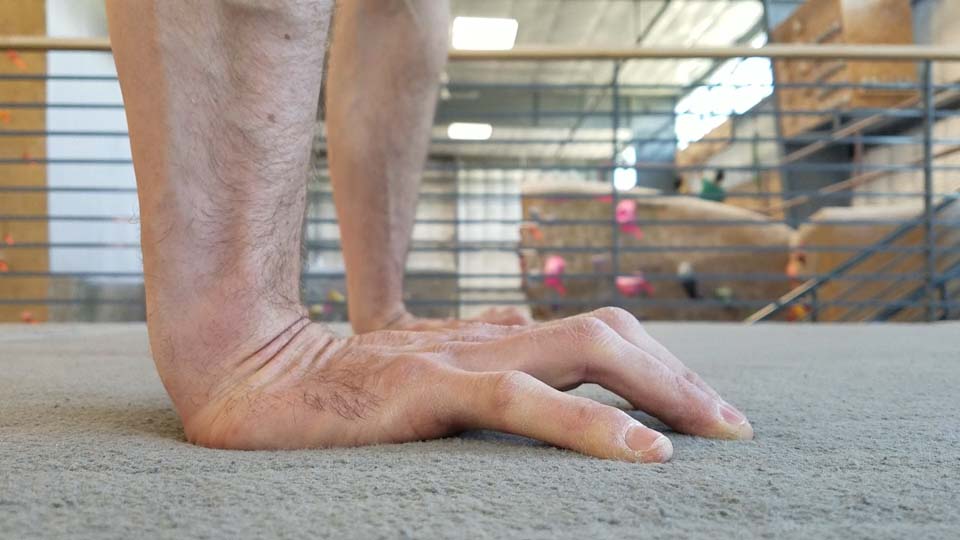
Notice how sunken my hand’s heel is.
Second, if you manage to get off the heel, your fingers will sink into the floor before they can pressure you back, unbalancing you forwards.
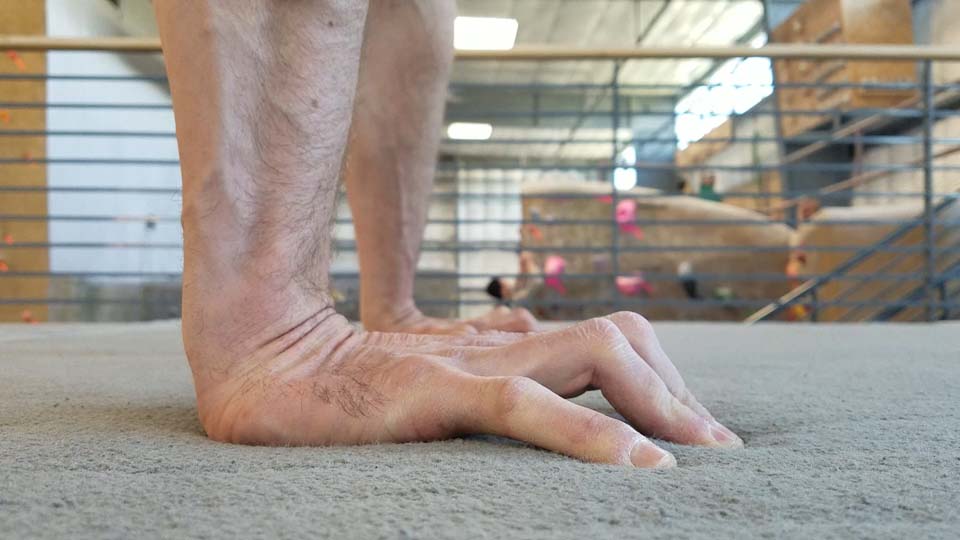
Look at my fingers—now they’re sunken!
Compare that to a hard surface, where the heel doesn’t sink and any pressure applied through the fingers is instantly felt.

The concrete doesn’t give in to the pressure from either my hand heel or fingers.
Of course, you need to know how to pirouette out of a handstand before you can safely practice on a hard floor—but exiting a handstand is really a different skill entirely! Practice pirouette exits on a soft floor, then practice your handstands on a hard one.
#2: Focus on the Chain From the Bottom Up
When I taught skiing, we instructors would analogize the body to an upside-down chain: when you shake the top (bottom), the rest of the links follow suit one after another. In skiing, the idea was that you focus on your ankles first because they’ll lead the way to better knees, hips, core, and shoulders. With handstands, they principle is similar if reversed: hands, shoulders, core, legs.
Hands are the most important part of your handstand—you can’t do one without them! Focus first on what your hands are doing. What is their width? How are they angled? How much pressure do you place through the fingers?
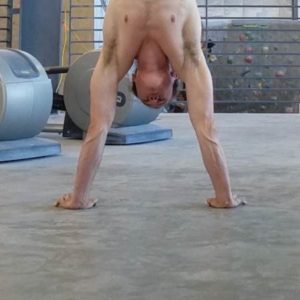
A little wide.
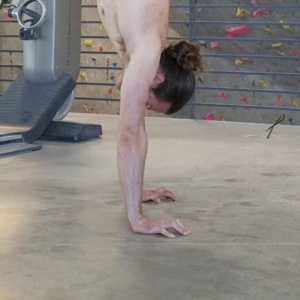
Cambered fingers.
Once your hands become second nature, think about your shoulders. Are they as open as you’d like them? Are you pushing through them or letting them sag? You may need to take footage of yourself to answer these questions.
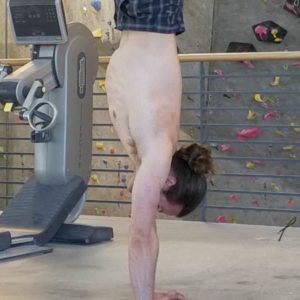
Mostly open; 175-80 degrees.
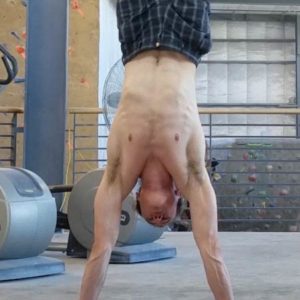
Shoulders by my ears.
After the shoulders, what is your core doing? Is it tight? Is your spine straight?
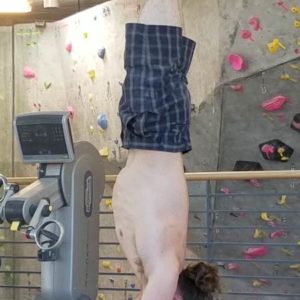
Mostly straight, from upper spine through butt.

Tight abs.
Finally, what are your legs doing? Are they arching over or splayed?
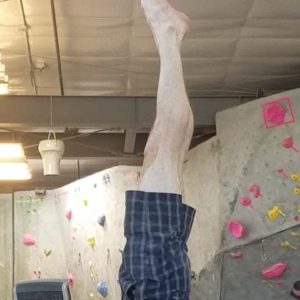
Straight legs, feet above head.
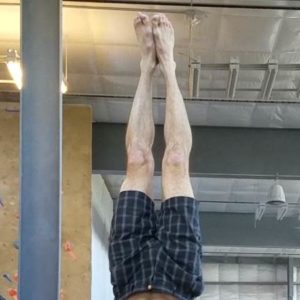
My knees don’t touch when legs are straight (this is normal for me); feet could be pointier.
You can also think about your feet (are they pointed?) and elbows (are they straight? Is the pit facing forward?), but they are more detail work that can come later.
#3: Work Your Tuck-Ups (and -Downs)
When you can’t even hold a handstand for longer than a few seconds, it seems silly to practice harder ways to enter a handstand. Nonetheless, there’s a good reason to practice tucking up and back down from handstands: they build the muscles that help you hold them better!
You’ll need to practice against a wall at first. Start from a frog squat, kick with both legs…
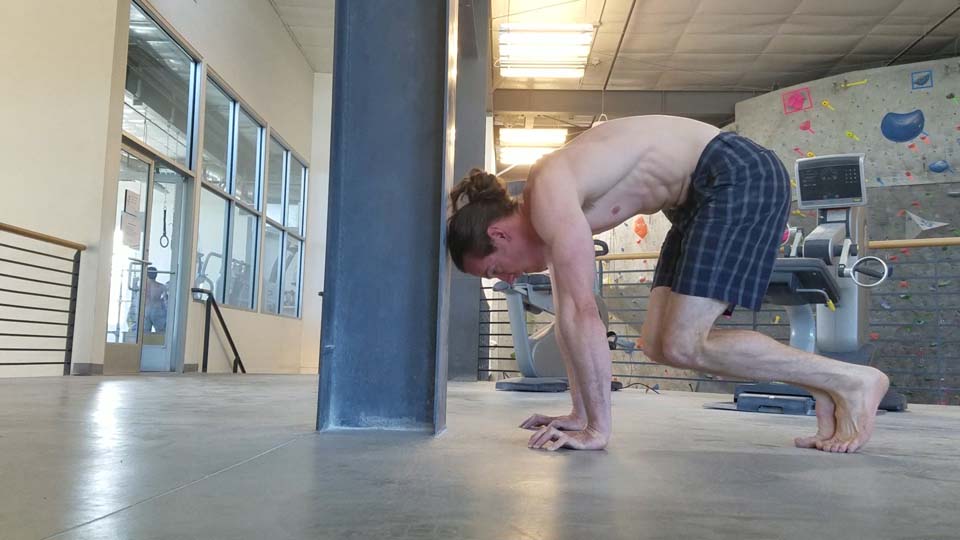
Starting position for each rep.
and try to bring your butt to the wall.
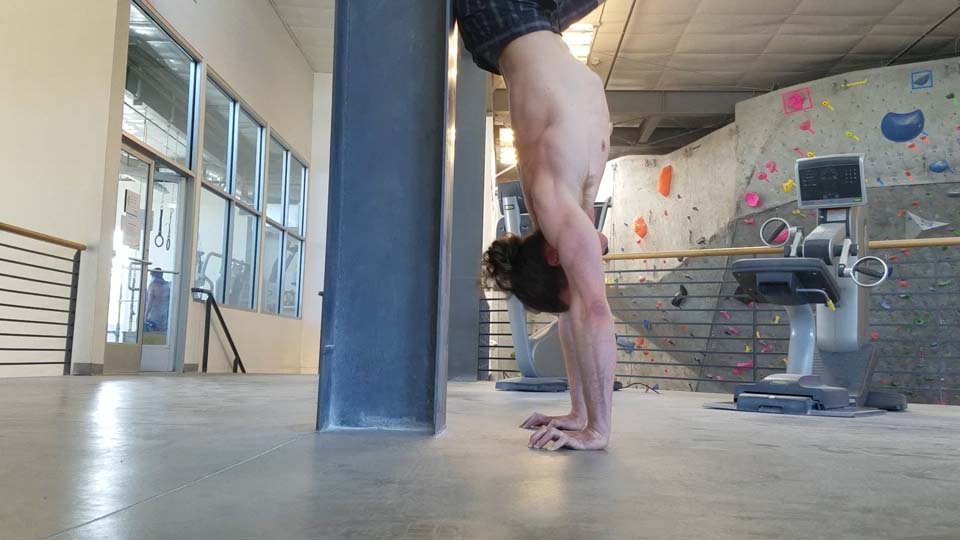
Butt comes to wall and requires shoulder opening.
Then reverse it and do it again. Try to get 8-10 reps of these tuck-ups and -downs.
When you get comfortable doing it against a wall and you can hold a normal handstand consistently for at least five seconds, then start to practice off the wall as well.
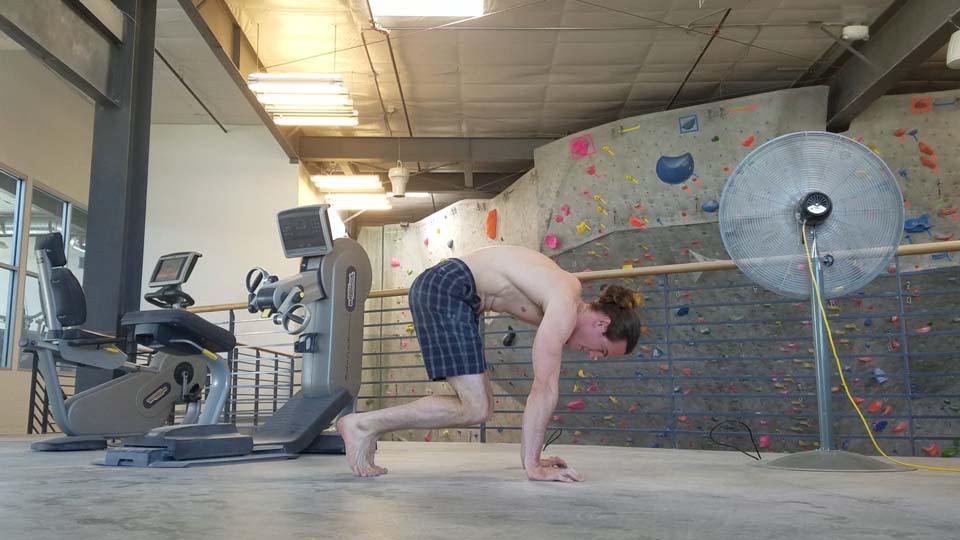
Neutral position; arms straight, fingers engaged, shoulders ready to open.
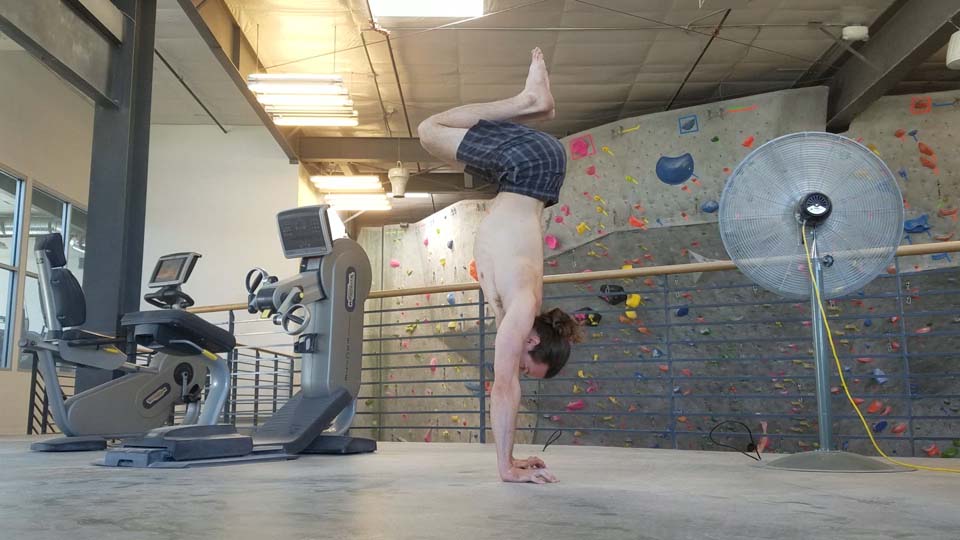
Remaining tucked, butt comes to above hands, opening shoulders.
You will probably want to continue practicing against the wall as well, at least as a warm-up—doing these fast certainly gets the blood flowing through the shoulders!
#4: Strengthen Your Shoulders With Handstand Shrugs
I see a lot of people try to increase their handstand shoulder strength through static wall handstand holds. There is some utility to these, but just like any other exercise, you can almost always improve your endurance better through dynamic motions than static holds—especially when you’re aiming for 30-60 seconds!
Handstand shrugs work the exact muscles you’re attempting to strengthen. When your shoulders fatigue during a handstand, they naturally “shrug” down, away from your ears. When your shoulders are strong, they shrug up to by your ears, like earmuffs. Training with shrugs helps them resist fatigue by becoming stronger in general, rather than just better at enduring.
Start against a wall with as perfect of form as you can manage, then push up through your shoulders…
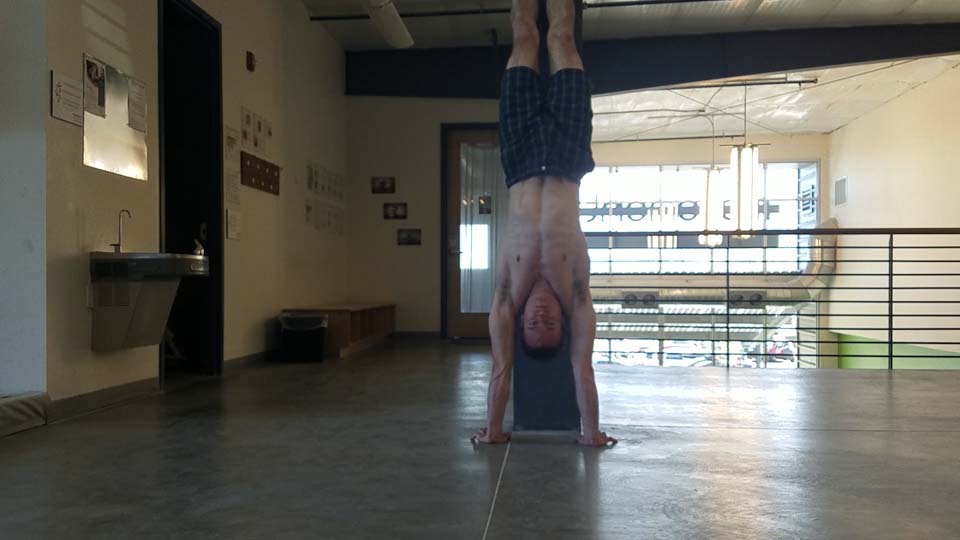
Shoulders pressed to the ears.
…hold for 2-3 seconds, then relax the shoulders while keeping your elbows straight…
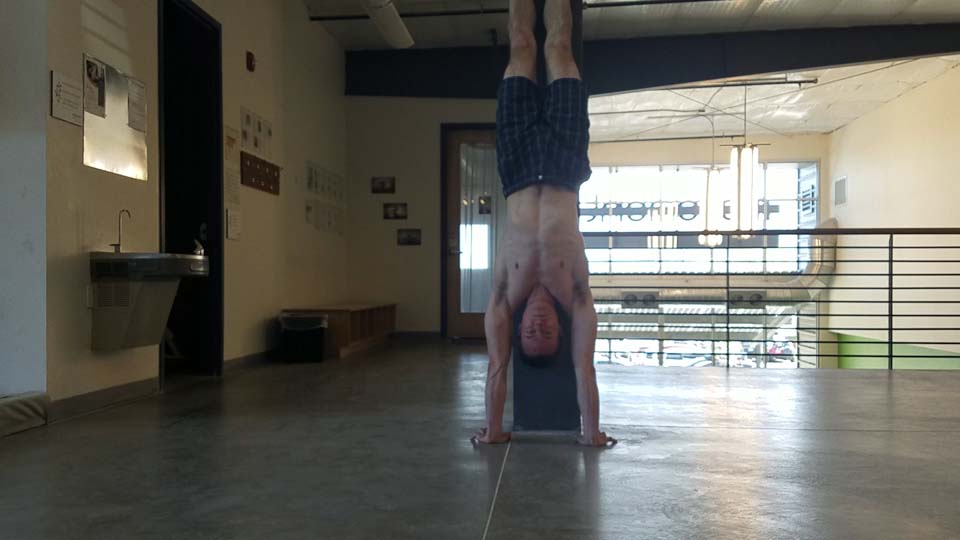
Shoulders loose; elbows still straight!
…and repeat for 8-15 reps and 3 sets.
When you are able to hold handstands away from the wall (with decently open shoulders) consistently, you can start to practice them away from the wall as well. In this scenario, it’s less about strength and more about recognizing when your form slips and recovering it.
If you still want to practice static holds, do so after you train shrugs; you’ll gain more after than before.
#5: Prioritize Perfecting Balance Before Form
Form is important; the better your form, the easier it is to maintain balance. Form can’t develop until you can balance upside down for at least a bit, though. Even then, form is not the primary thing keeping you up—your own proprioception is. This takes time to develop, which means hanging out in a lot of less-than-perfect handstands.
In other words, if you can hold a handstand that looks like this for 15 seconds:
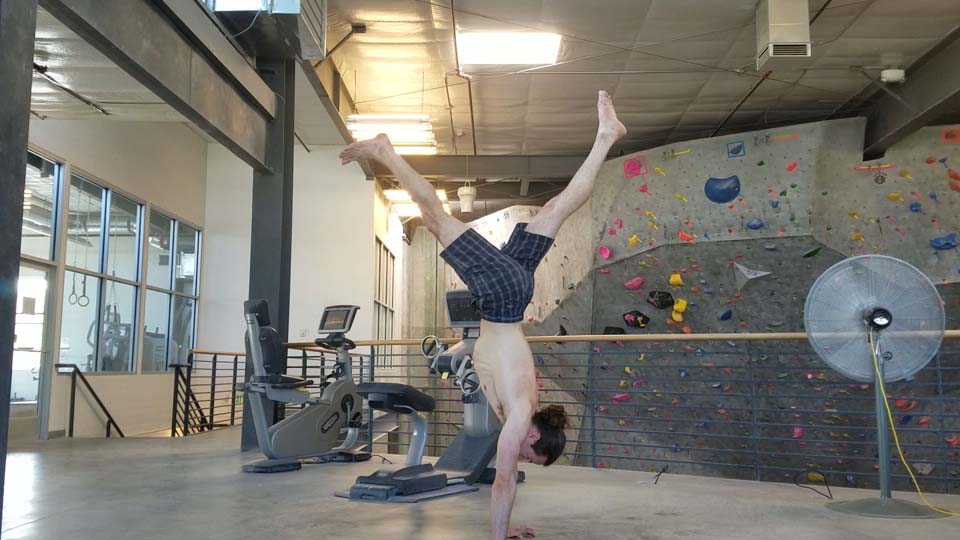
Loose legs, but balanced.
…but focusing on form takes you down to only a few seconds…
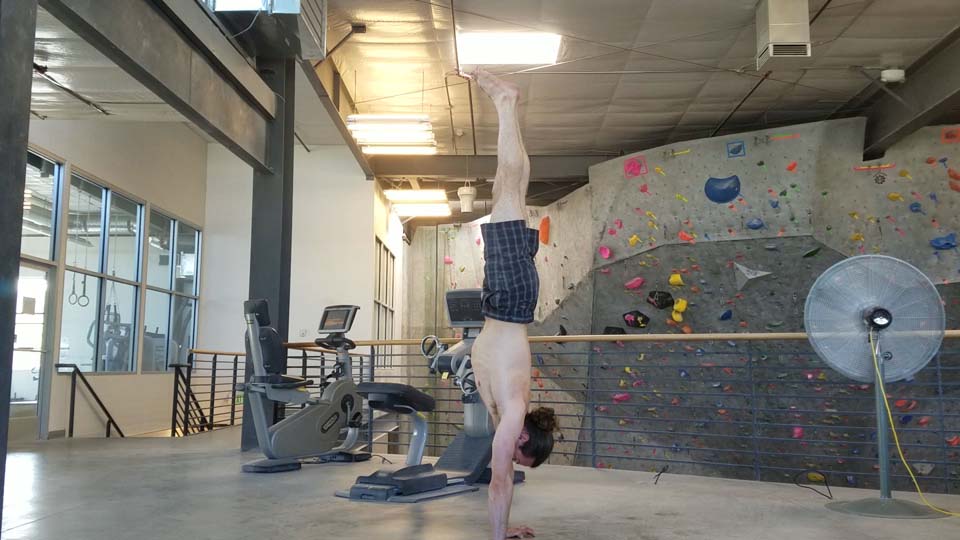
Better form, but can it be held?
…then you’re better off with the longer-held, uglier handstand—at least until you improve to the point where balancing upside is second nature enough to correct form!
Quick Recap
There’s a ton of great advice on improving handstands out there. These are a few tips that I’ve found helpful that I haven’t seen around, at least not as frequently. I hope they help you improve your handstands!
Once again, they’re:
- Practice on a hard surface.
- Focus on the chain from the bottom up.
- Work your tuck-ups and tuck-downs.
- Strengthen your shoulders with handstand shrugs (instead of static holds).
- Prioritize perfecting balance before perfecting form.
Until next time.


Haha I’m glad to see that you are into handstands too! And I think anybody into bodyweight exercise outside of climbing would be happy to see articles like this! I think inverted (and hanging) workouts are some of the best you can possibly do for your core; handstand presses in all their various forms are such an incredibly fun way to build great core strength which that translates well to stronger bouldering.
From everything that I have gathered in my handstand practice over the last year, it seems that the vast majority of handbalance circus coaches as well as yoga teachers would suggest a hand placement that stacks the wrists in line with the shoulders (much narrower than what you depict in the photos, though you don’t actually make that recommendation in writing). Just thought I would mention that because I do believe it makes them easier!
Yea, it was actually in the process of taking these videos I realized how wide my hands can sometimes trend. It was “hidden” from me because I would always take video of myself from the side, not the front (I film myself most days to give me a way to do movement analysis—another tip I would highly recommend, but figured it would be better for a more general “getting better at bodyweight exercises” article), so I never got a picture of how wide they were! I (mostly) fixed it afterwards, as you can see in the shrug video stills.
I tried to avoid these types of tips in the article, not because they’re not useful—they absolutely are!—but because I almost always see them when reading a handstand article. I’m hoping to caulk in the cracks, so to speak; offer some advice that is a little off the beaten track.
Thanks for the comment!